

A preface...
“Their own introduction?!” interrogates the inquisitive reader.
Heaps and Imlay are unlike other canyons in Zion and deserve their own introduction. Deeply incised into the stone, Heaps and Imlay have a character that is both sublime and perilous. Sublime because the dark hallways, carved stone and subterranean pools offer an experience only hinted at in other canyons; perilous because what accompanies these beauties are continual exposure to water, difficult pothole exits and a degree of strenuosity one giant leap greater than other Zion canyons.
Do Imlay first. Heaps is bigger, and you have to have your caca together at the end… so do Imlay first. Heaps is more.
So what's the big deal?

There are several factors that make these two canyons a big deal:
1. Extreme Condition Dependency. When the potholes are full, Imlay and Heaps are a romp; a cold, strenuous romp, but a romp nonetheless. The technical difficulty in these canyons is the long chain of continuous potholes. When full, rappel into the pothole, swim to the other side and exit with ease. As the water level works its way down, the pothole exits become more and more difficult; and the number of difficult exits becomes numerous. So, if your buddy says “way over-rated, not hard at all”, ask her how many potholes she had to hook out of.
2. Leadership Counts. Do not underestimate the difference between leading and following in these canyons. If you were “taken down” one of these canyons, don’t think it is easy to be in the lead.
3. Big, deep potholes with water in them. Imagine yourself swimming in a pothole. You swim to the other side. The lip is six feet above water level, the sandstone smooth, polished and slightly overhanging. Can you get out? There are four or five potholes in both canyons that are often in this condition. In Heaps during low water conditions, there may be as many as ten. Be prepared to deal with them because you might have to.
4. Hours and hours in freezing cold water. The “extreme” sections of Imlay and Heaps take from two to eight hours for a party to traverse. Much of this time is spent in pools, swimming and wading. This alone requires a great deal of energy and wears you down.
5. Excess Baggage Charges. Getting yourself through these puppies is hard enough; schlepping your stuff through is even worse. Unfortunately, their length encourages people to do them as overnights. Of course, with camping gear, the canyons take even longer…

Preparing for the Canyons
So how do you prepare for these canyons and stack the odds in your favor?
A. Bring a strong team. By which, I would suggest:
Someone who has done it before - an obvious candidate.
Conditioned Athletes Only! People who are not fit enough become a big liability in these canyons.
Everybody Climbs! There are climbing sections that are hard to belay in both canyons. Everybody needs to be able to climb.
The Right Size: three to five is the best group size. Less than three cuts down the options in partner climbing and pothole exits. More than five definitely slows the group down. The small ledge on the last rappel of Heaps fits no more than 4 people.
Variety is the Spice of Life: Physical variety is of great benefit in partner climbing and pothole exits. It helps to have one small, lightweight expert climber and one big strong human that can boost the petite gymnast when needed.
B. Know what you are doing. Here’s some specific skills you should know:
ALL members of your party should be capable of rappelling quickly. With 20 or 40 rappels each, folks not real comfortable or safe rappelling are a big liability.
For Heaps, ALL members of the party should be ready for a 300-foot (90-meter) single-line free rappel on a skinny cord. One canyoneer recently broke his back on that rappel. Why? Because he had not rappelled single strand before, had inadequate skills and equipment and lost control of his rappel.
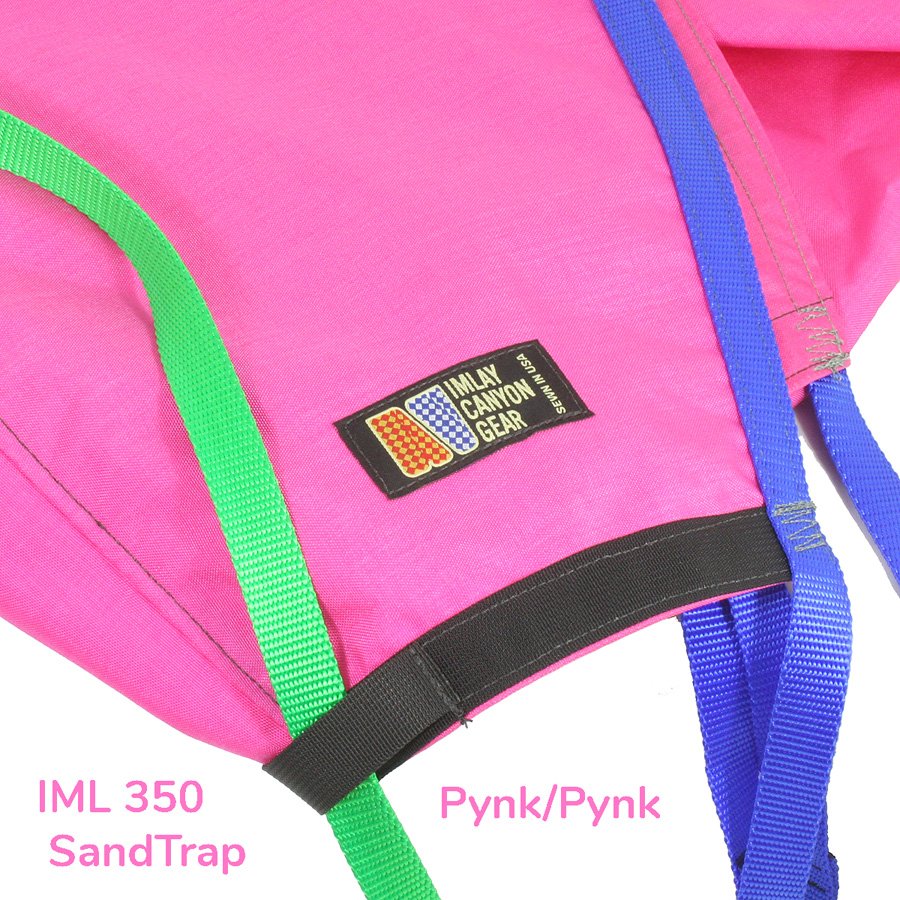
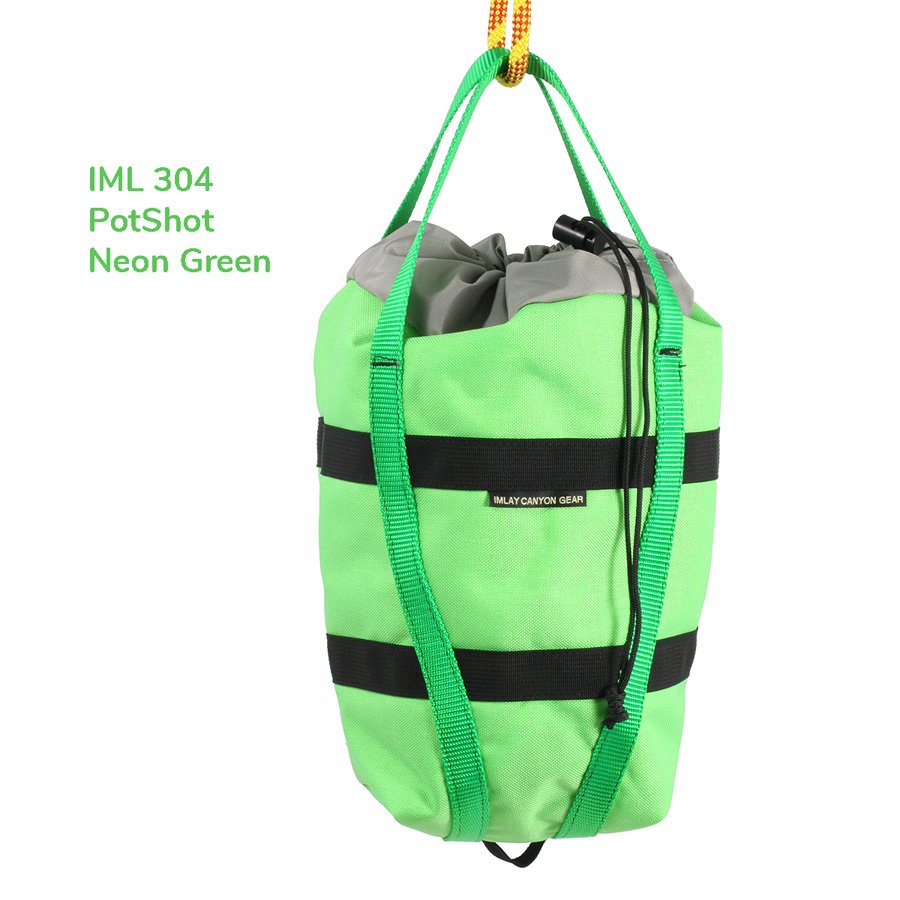
Escaping Potholes: Do you know how to escape? Techniques used include PotShot tosses, partner climbing techniques, blowup flotation devices and, as a last resort, hand-drilling small holes and bat-hooking out. You should have ALL of these tools and techniques available to your team, AND practice in deploying them so you can choose the best tool at each point.
Experience! Unfortunately, there are few Zion canyons that have these kinds of obstacles. Kolob and Das Boot can give a taste of cold-water endurance. The Squeeze and Quandary Direct (in the San Rafael Swell) have some easily-passed potholes.
And did I say BRING LESS STUFF. Moving the baggage around can be half the effort – don’t bring stuff you don’t need.
Gear
Here are special things you should bring:
Hooking Kit:
Hammer,
3/8” drill,
drill holder,
2 Black Diamond Talons,
Etriers or a bunch of slings (10) to tie into aiders to hang on these things.
Family Band Radios: extremely helpful on the final Heaps rappels.
More on Escaping Potholes: Drilling and hooking should only be done as a last resort. Be a sport: spend at least an hour trying pack tosses, partner assists, floating assists from rafts, etc, before reaching for the hardware. If drilling, minimize your impact by using already drilled holes as much as possible. A geology hammer ("Geo-Pick") as suggested by one author is not a valid technique as it is crude and destructive.


Ropes
IMLAY SNEAK ROUTE
The longest rappel is 110 feet (34 m). More HERE.
FULL IMLAY
From Potato Hollow, longest rappel is 170 feet (53 m)
Most of the rappels are short. On the Sneak route, other than the final, there are no rappels longer than 60 feet, so I find having two or three 120 foot ‘working’ ropes makes for efficient travel. More HERE.
HEAPS
The Phantom Valley entrance starts with a 65 foot (22m) rappel. Then a 210-foot rappel (63m) coming off the ridge – I use the 300-footer here and then stack it in a drybag.
Except for the end sequence, the longest rappel in the canyon is 60 feet (20m). The second to last rappel is just short of 150 feet. I find having two (or more) 150-foot working ropes in the canyon works well… plus a 300-footer for the last rap.
The second to last rappel (145 feet or 45m) surprises people. It is steeper than it looks. Hang your pack for this one, and be prepared for a long free rappel. It ends at the “Bird Perch” – a ledge upon which 4 people can be squeezed.
The last rappel is almost 300 feet or 90 meters. If you carry a 300-foot (90m) rope through the canyon, seal it carefully in a drybag. With two shorter ropes, a lower-and-rappel can be rigged and a 300-foot rope stashed in the talus below sent up. This is a free rappel for all but the first seven feet (2 m).
If you stash a rope below the final rappel, hide it from view. The three-leafed plant among the rocks is poison ivy – don’t touch. I like to stack the rope in a pack so it is ready to go. Attach a sign to the pack that says (something like): “Please leave this rope here. We left it on June 31st. If you take it, we will DIE.”
VERY IMPORTANT DETAIL
The final rappel sequence does not follow the watercourse. Climb 40 feet up a corner on the right (5.2), then down the other side. A 50 foot rappel off a tree ends at a ledge with a large tree on the edge of a huge drop. From here it is 435 feet to the ground, done in two rappels, 145 feet and 290 feet.
The final sequence down the watercourse has been done, but is not recommended. Do not be seduced by slings above the dark slot on the left. The final rappel this route is 355 feet (110m).
Don't wear your pack on the last two rappels. Hang it by a sling from your harness.
More HERE.